Restaurant
Juniper & Ash
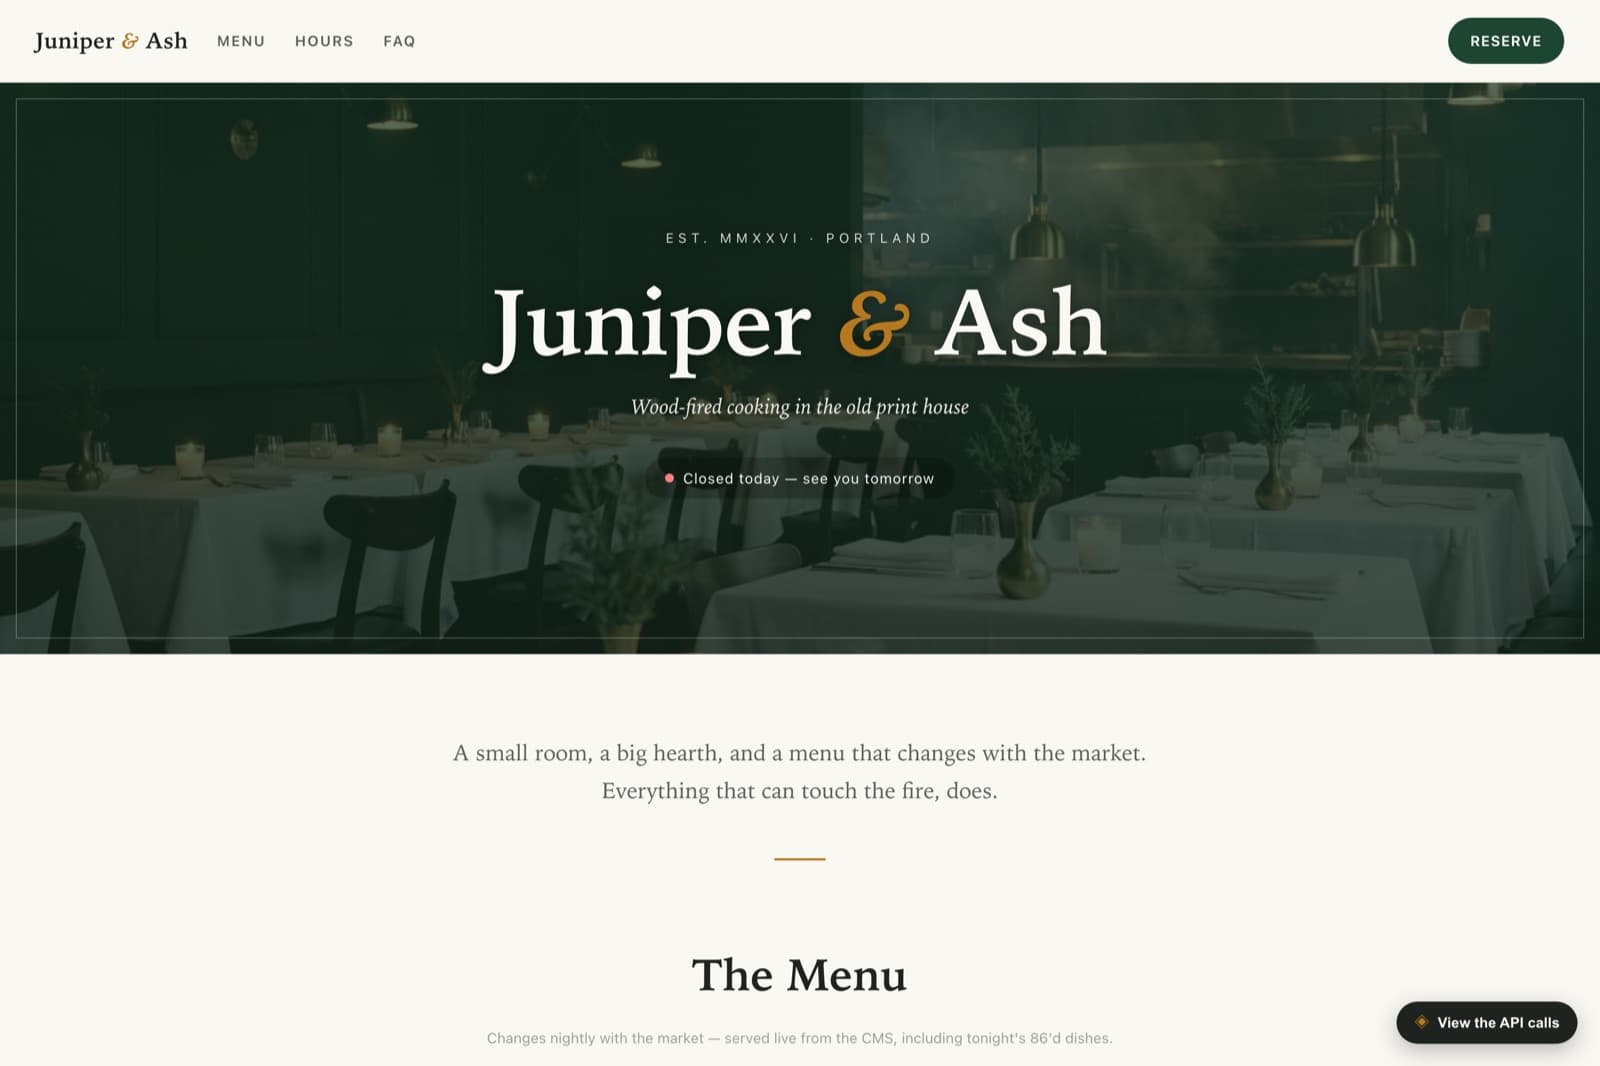
Juniper & Ash is a demo, not a real restaurant — it shows how a whole single-page site can run on content you edit rather than code you deploy. One “Restaurant Info” singleton holds the name, hours, and contact details; the menu is assembled by joining dishes to their sections through references; and because every dish has an “available” toggle, 86’ing tonight’s special is just an unpublish. Here’s how you’d build your own.
Step 0
The content model
Here’s the shape you’re aiming for. You don’t have to build it by hand — the next steps have an agent create it for you — but it helps to see the target first. Expand a type to see its fields.
restaurantinfoSingleton8 fields
The one entry that holds everything about the restaurant.
- nameText
- taglineText
- aboutText
- addressText
- phoneText
- reservationurlText
- themecolorTexthex accent
- hoursJSON{ mon…sun: "5–10pm" | "Closed" }
menusectionCollection3 fields
The courses the menu is grouped into.
- nameText
- descriptionText
- orderNumbersort position
menuitemCollection7 fields
A dish — linked to its section by reference.
- nameText
- descriptionText
- priceNumber
- dietaryMulti-selectvegetarian · vegan · gluten-free · spicy
- chefspickBoolean
- availableBooleanoff = 86’d tonight
- sectionReference→ menusection
faqCollection3 fields
Common questions, shown in an accordion.
- questionText
- answerText
- orderNumber
The recipe
Build your own with an agent
Use this as a blueprint, not a script — adapt the fields and copy to whatever you’re making. Each step is a real prompt you can hand to a coding agent like Claude Code with the Headless MCP server connected; the terminals show the tool calls the agent makes, and the code is what it produces.
Create the project
With the Headless MCP server connected, the agent creates the project directly. It ships with REST, GraphQL, and MCP from the start.
MCP · Headless# Spin up the project› claude "Create a Headless project called Juniper & Ash for a restaurant"✓ create_project { name: "Juniper & Ash", slug: "demo-restaurant" }→ demo-restaurant readyModel the content
Describe the pieces and let the agent build them: a singleton for the restaurant’s details (including a JSON field for opening hours), plus three collections. The key one is Menu Item, which carries a reference to the Menu Section it belongs to.
MCP · Headless# A singleton for the restaurant’s details› claude "Add a Restaurant Info singleton: name, tagline, about, address, phone, reservation URL, a theme color, and a JSON hours field"✓ create_content_type { name: "Restaurant Info", isSingle: true }✓ create_field × 8 (hours as JSON)# Sections, dishes, and FAQs› claude "Add Menu Section (name, description, order); Menu Item (name, description, price, a dietary multi-select, chef’s-pick and available toggles, and a reference to its section); and FAQ"✓ create_content_type × 3✓ create_field × 13 (menuitem.section → reference)→ a menu that assembles itself from referencesSeed the menu
Set the singleton and its hours, add the sections, then batch-create dishes that each point at a section. Marking one as unavailable is all it takes to 86 it.
MCP · Headless# Fill the room› claude "Set the restaurant info and hours, add four menu sections, then a dozen dishes linked to their sections — flag a couple as chef’s picks"✓ update_entry restaurantinfo { … }✓ create_entries menusection × 4✓ create_entries menuitem × 12 (each → a section)✓ publish_entries { count: 16 }→ sections, dishes, and their links are liveMint a read-only API key
The site reads content in the browser, so create a public, read-only key in the dashboard under Project Settings → API Keys, and smoke-test one of the endpoints first.
Terminalcurl -s "https://headless.build/api/v1/demo-restaurant/menuitem?limit=1" \ -H "X-API-Key: hls_live_your_read_only_key" | jqBuild the site
Hand the whole page to the agent. The site needs four things — the info, the sections, the dishes, and the FAQs — so it fetches them in parallel, then joins each dish to its section by reference and hides anything that isn’t available.
Claude Code# A single-page site, four requests› claude "Write a single self-contained index.html: load the restaurant info, menu sections, dishes, and FAQs in parallel, then render the menu by grouping dishes under their section — and hide anything unavailable"✓ Write public/demos/demo-restaurant/index.html→ 1 file · fetched in parallel · no frameworkindex.html// Load everything the page needs at once. const [info, sections, items, faqs] = await Promise.all([ api("/restaurantinfo"), api("/menusection?sort=order&limit=20"), api("/menuitem?limit=100"), api("/faq?sort=order&limit=20"), ]); // A dish points at its section by reference; group them client-side, // and drop anything the kitchen has 86'd (available === false). const menu = sections.data.map((section) => ({ ...section.attributes, dishes: items.data .map((i) => ({ id: i.id, ...i.attributes })) .filter((dish) => dish.section === section.id && dish.available), }));Ship it
Deploy the single page anywhere. The everyday payoff is the workflow: when the kitchen 86’s a dish, toggling its “available” field off removes it from the site instantly — no code change, no redeploy. The same goes for hours, prices, and the whole menu, all edited in Headless.